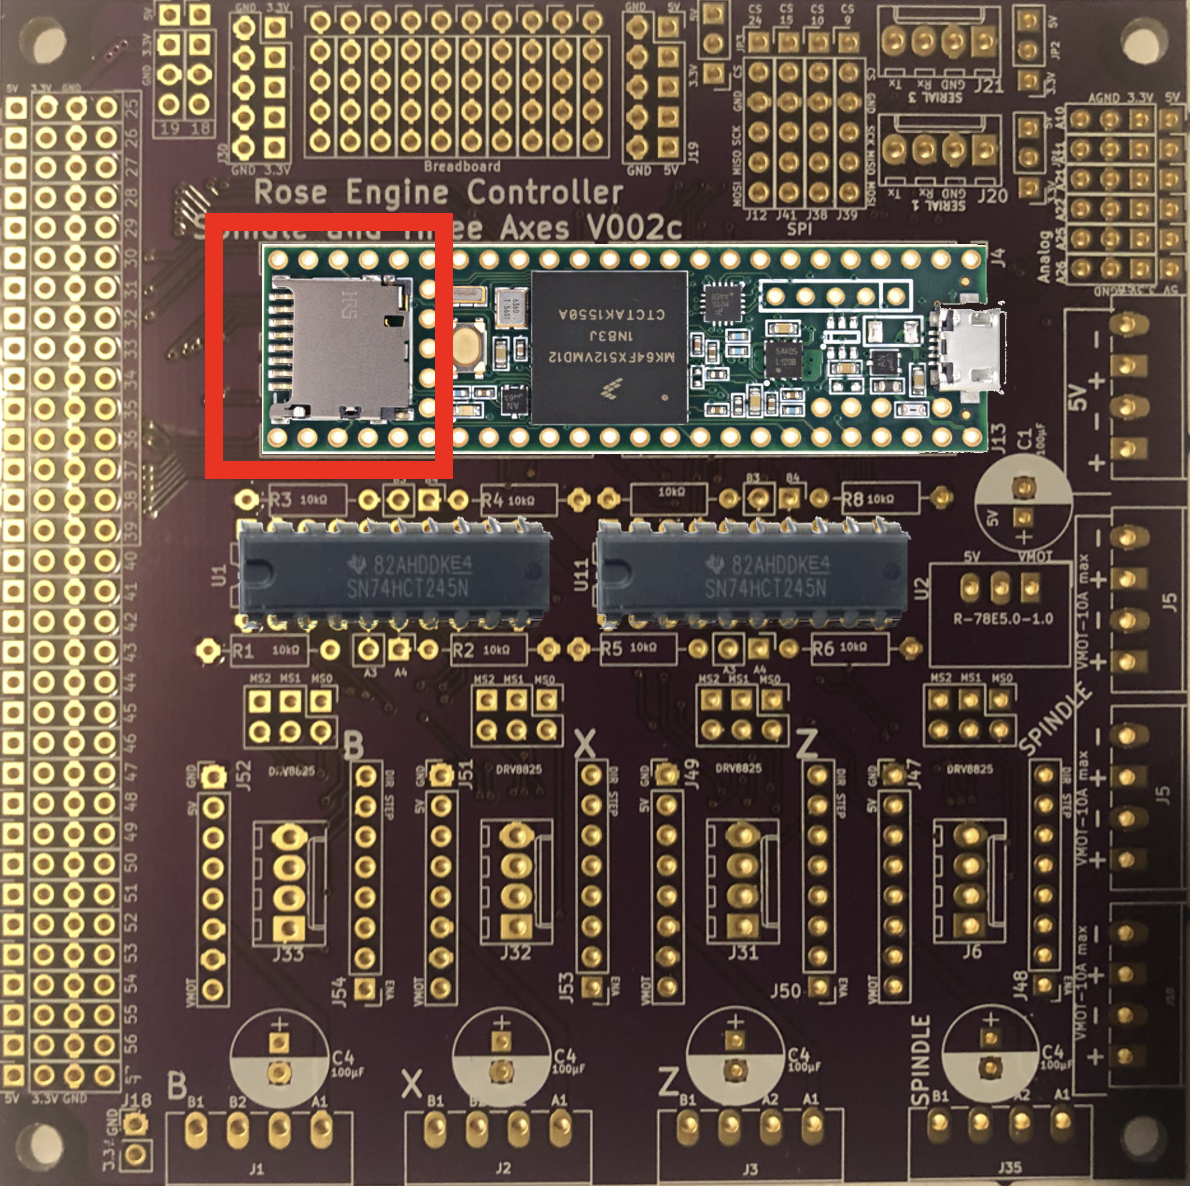
Control System for Multiple Stepper Motors

Pearling


Calculations needed for this are based on the data in the table below. Click on any of the pictures to see larger images and diagrams.

Input fields are  colored .

Cutter
Diameter

" mm Diameter of the cutter
Depth of Cut

" mm This is the depth to cut for the hexagon or square, not the full depth of cut to create the full dome on the pearl.
Pattern
Number of Pearls This is the number of pearls that would be cut in a complete circuit around the object. This number is used to calculate the Rough Diameter of the workpiece as well as the move and index settings for the next row.

Based on the pearling cutter's diameter, this is adjusted to achieve the rough diameter of the piece desired.

Pearling Values
Pearl Alignment
Hexagonal
Square
Rough Diameter

"

mm

"

mm
Depth of Cut Diameter

"

mm

"

mm
Z Axis Move

"

mm

"

mm Distance to the next row
Spindle Index Degrees

°

°

Screen Actions
Grk

Teensy's Spot for
microSD Card

On the Greek Key File page,

  1. Put the file, IndexGK.txt, on a microSD card and put the microSD card in the Teensy.

  2. Open the IndexGK.txt file.

  3. Set the variables on the screen as:

    1.  Count    = If pearls are desired around 360°, then enter the Number of Pearls (as entered above); otherwise enter the number of pearls desired.
    2.  Patterns/360    = Number of Pearls (as entered above)
    3.  Length    = a distance which will allow the cutter to clear the workpiece while moving between cuts.

  4. The radio button selections are set as:

    1. Z     X     B
    2. Radial     Axial
    3. Segments     Actual

  5. Turn the cutter on.
  6. Plunge to cutting depth. It is a best practice to only cut 0.020" to 0.030" on each pass.

  7. Touch either or to create the desired number of pearls in this row.

  8. You should plan to make multiple passes in order to cut to the full depth. A typical pearling bit would have something on the order of 0.080" depth of cut.

  9. To move to the next row, first, retract the cutter.
Mov

On the Move page,

  1. Set the variables on the screen as:

    1.  Distance    = Z Axis Move (as calculated above)

  2. The radio button selections are set as one of the two below:

    1. Z1 2     X1 2     B1 2
    2. Z1 2     X1 2     B1 2

  3. Touch either or to advance to the next row.
Ind

On the Indexing page,

  1. Set the radio button selections as:

    1. Div     Deg
    2. Fixed     File

  2. Set the variables on the screen as:

    1.  Degrees    = Spindle Index Degrees (as calculated above)

  3. Touch either or to index.

Repeat the steps above for the desired number of rows.


Questions or comments? Contact us at
ColvinTools@Gmail.com
Disclaimers